The exhibit population phase consists of taking an empty template and populating it with content. The content
can come in various forms, namely images and text. The goals of the exhibition population system was to create a tool
that could seemlessly incorporate different sources and content types for a well-rounded exhibit that could be used
for multiple purposes, be it content exhibition or narrative focused. The tool was designed to be easily usable and
accessible, this was achieved through evaluation processes of the design to ensure that the final product was as intended
and usable by a variety of users.
Design artefacts were created to assist with the development process, some of which can be accessed via the downloads page.
Many of the initial designs had to be reassed and redesigned after usability surveys and heurisitc evaluations of the system
were completed. The image upload and tray system were adjusted to fit the new specifications from the feedback.
The newly designed personal image upload is shown below. Bootstrap CSS modals were used for menu items to create consistency
throughout the EXHIBIT system. The image upload area shows a preview of the selected image before uploading for user convenience.
Uploading a local image into an image box
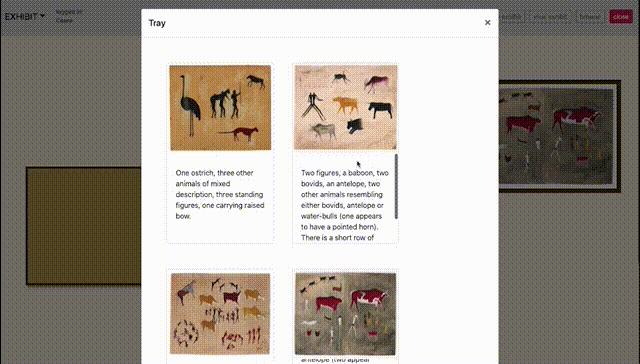
As mentioned above, the personalised tray design was also adjusted to accommodate feedback from evaluators. The original tray system
by default also included all of the archival content, there was no personalisation option. Creating a personalised version allows for more
efficient use of the system and thus makes it more usable. A personalised tray can be used to insert archival images, now if there is no
personalised tray found on the system, the default is that all of the archival material is accessible via the tray.
Using a personalised tray to add images
Along with adjusting design to accommodate the personalised tray, the system also needed a way to be able to clear a personalised
tray if the items in it are no longer needed. A button on the tray view allows the system to clear the local storage that stores the
tray information, thus reverting to the default tray.
Clearing the tray and reverting to default
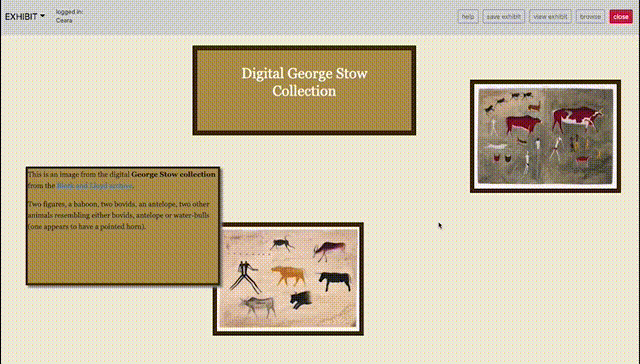
Another important aspect of populating exhibits is including text content. The exhibits need context and this can be achieved by styling
and formatting text to give insight to the images included in the exhibit. The text editor used in the population system is CKEditor 4.
CKEditor 4 allowed for a wide range of styling and formatting text options, the toolbar options of the editor was able to be cut down after
the evaluators completed a survey about useful features of text editing and desired options. The editor can format text as headings, lists, quotes, and
can create links. These text features can then be styled by changing fonts, size, colour, highlights and making text bold or italicised.
Editing the title of the exhibit
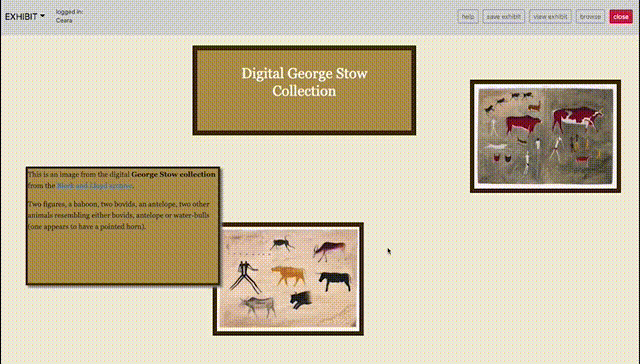
Editing some contextual text in the exhibit
After the exhibit has been populated completely, it can be saved. This will make the exhibit viewable from the Browse page.
To save the exhibit, a title, description, the name of the creator and a cover image is required. This allows us to use the information as metadata for the exhibit.
The save menu is a Bootstrap modal, like the upload menu. This keeps consistency within the population system. A toast notification and spinning gif are used
as "alerts" or a notification system to communicate when the exhibit has completed saving and is able to be viewed.
Saving the exhibit
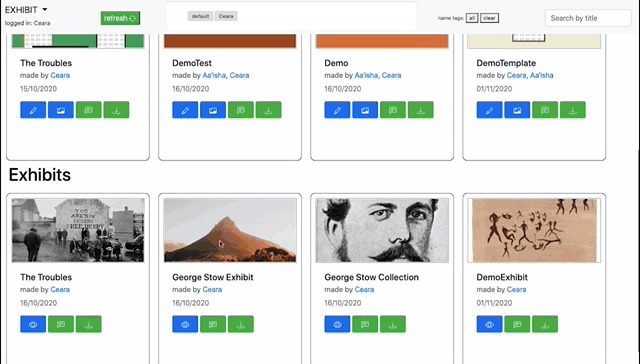
The exhibit is now viewable from the population stage, or from the template and exhibit browse page. Comments can be left on the exhibit,
like with templates.
Viewing an exhibit from template and exhibit browse